Vuepress 下的安装
了解和准备 live2d 文件
先准备一个 live2d 模型,一个 live2d 模型通常是一个包含了如下几类文件的文件夹:
- xxx.moc3
- xxx.model3.json (配置文件,live2d 最先读取的就是这个文件,可以认为它是 live2d 模型的入口文件,里面列举了所有模型需要使用的静态资源的相对路径)
- 其他
比如我的模型为一个小猫娘,文件夹为 cat,这个文件夹下包含了如下的文件:
/cat
    -| sdwhite cat b.model3.json
    -| SDwhite cat B.moc3
    -| xxx.exp3.json
    -| ...
    -| ...
模型版权申明:Lenore莱诺尔(B站:一个ayabe)
我把 cat 文件夹放在了 ./public 文件夹下。那么我的模型的基本路径为:./cat/sdwhite cat b.model3.json,记住这个路径。
安装
将我们的 live2d 文件夹(比如我的是 cat)放进
.vuepress/public文件夹下,创建
.vuepress/public/live2d.js,写入如下代码:if (window.hasLaunchLive2d === undefined) { window.hasLaunchLive2d = false; } function load(src) { const script = document.createElement('script'); script.src = src; return new Promise((resolve, reject) => { script.onload = () => { console.log('finish loading lib from ' + src); resolve(); }; script.onerror = (error) => { console.error('Error loading lib from ' + src, error); reject(error); }; document.head.appendChild(script); }); } async function launch() { if (!document.getElementById('live2d') && window.hasLaunchLive2d === false) { window.hasLaunchLive2d = true; await load('https://cdn.jsdelivr.net/npm/live2d-render@0.0.5/bundle.js'); const config = { BackgroundRGBA: [0.0, 0.0, 0.0, 0.0], ResourcesPath: '/cat/sdwhite cat b.model3.json', CanvasSize: { height: 500, width: 400 }, loadIndex: 0, LoadFromCache: true, ShowToolBox: true } const screenWidth = Math.round(screen.width * window.devicePixelRatio); const scaleRatio = Math.max(0.76, screenWidth / 3840); const configSize = config.CanvasSize; config.CanvasSize.height = configSize.height * scaleRatio; config.CanvasSize.width = configSize.width * scaleRatio; await Live2dRender.initializeLive2D(config); console.log('finish load'); } } launch(); window.onload = launch;修改
.vuepress/config.ts(或者config.js,取决于你的主题和版本,此处以 config.ts 为例),修改主配置对象的head属性:
export default defineUserConfig({
    lang: "zh-CN",
    title: "锦恢的书籍&文档",
    head: [
        ['script', { src: '/live2d.js'}],
    ],
});
然后启动项目
npm run dev
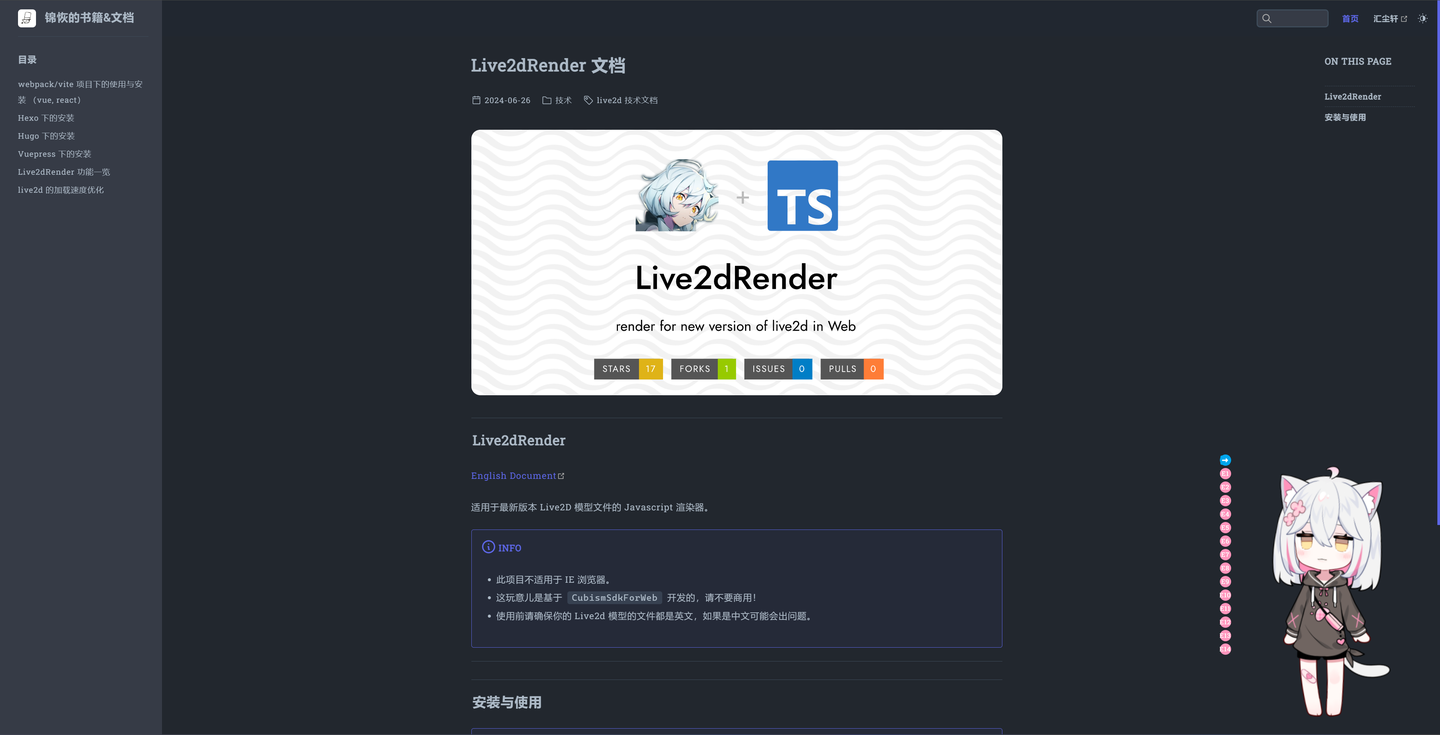
效果如下:

